There are currently two different Condor 2 sceneries for Colorado in development. Both cover all of the mountain regions of Colorado.
1) Colorado_V2 by Dave Leonard
Dave Leonard is a member of the Black Forest Soaring Society and one of the top XC pilots flying from Kelly Airpark north of Colorado Springs.
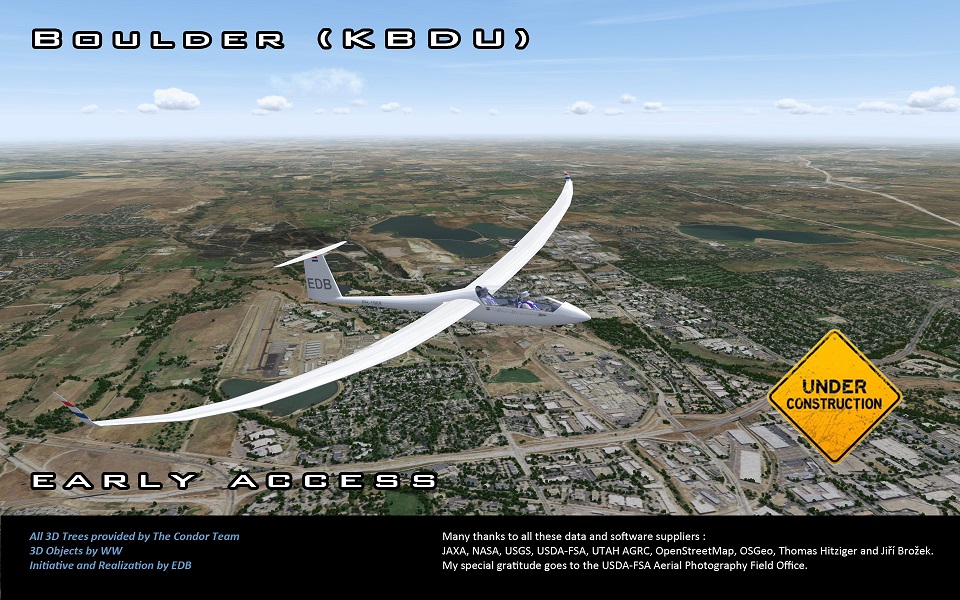
2) Boulder by Erwin de Bruin
Erwin de Bruin is one of the world’s top Condor pilots, a former XC soaring pilot in real life, and the author of the excellent Nephi scenery for Condor 2. Erwin lives in the Netherlands.
Both of these sceneries are in Beta and not publicly available for download via Condor Updater but each of the two authors graciously agreed that members of the Soaring Society of Boulder may download the scenery for personal and club use. The authors obviously retain all copyright on their respective work and either of them can withdraw their permission at any time.
Both of the sceneries look great and are already perfectly suited for flying in them. The main limitation is that either of them has only one airport that is already fully developed for aerotow starts. For Colorado V_2 that airport is Kelly Airpark – home for the Black Forest Soaring Society. And for Boulder, that airport is KBDU – home of the Soaring Society of Boulder.
However, in either scenery several airports including Boulder and Kelly Airpark can be used for “airborn” starts. The Colorado_V2 scenery covers a slightly larger geographic area as it reaches further into northern New Mexico, but for most practical purposes either scenery is more than big enough.
Below are installation instructions for either scenery.
1) Installation Instructions for Colorado_V2 Scenery
Before you begin, be aware that you will need more than 60 gigabytes of hard-drive space to complete the installation as described below. You can then delete the files that you downloaded but the scenery will still take up more than 30 gigabytes. It is possible to install the scenery onto an external hard-drive but additional steps are required to do so. The process described below installs the scenery directly in your Condor2/Landscapes folder.
To install the scenery, follow the following steps exactly.
a) Click on this link to open a Google Drive page that should look like the image below.

Now download all of these nine file folders to your computer (e.g., into your normal download folder or into any other location that you remember.). You can also copy them to an external drive. When you right-click on one of the folders you should see a download icon. You have to download each of the nine folders! Depending on your Internet download speed this will take a while until all 30 gigabytes are copied to your computer.
b) Move the Condor_V2 folder that you just downloaded into your Condor2/Landscapes folder.
c) Open the Condor_V2 folder that you just moved into the Condor2/Landscapes folder. Then open the Textures folder that is inside. In your File Explorer Window you should now see more than 500 little icons each indicating a texture file. Keep this folder open.
d) Open a second File Explorer Window next to the File Explorer Window that you just left open. In the second Explorer Window, locate the Condor_V2_textures_1 folder that you downloaded in step a).
e) Open the Condor_V2_textures_1 folder. Open the folder called Colorado_V2 that is inside. Then open the Textures folder that is inside it. You will now see many more little icons of texture files. Select all of these texture files (by pressing ctrl-A) and then copy all of them into the Textures folder that you left open in the first Explorer Window (as part of step c)
f) Repeat steps d) and e) for each of the other seven Condor_V2_textures folders until you have copied ALL texture files into Condor_V2/Textures.
Congratulations! This should be it. Start Condor, go to Free Flight. You should now be able to select Colorado_V2 [0.1] from the dropdown menu in the top right corner of the Condor Flight Planner. Set up a task as you would in any Condor scenery and test if it works.
2) Installation Instructions for Boulder Scenery
Caution: Download of the Boulder scenery is currently unavailable.
The manual installation is not difficult but it is easy to make a mistake and waste a lot of time. To help you prevent this, I wrote this brief installation guide.
Disclaimer: I obviously cannot take any responsibility for the scenery. I have installed it myself and it works very well and there have been no issues. However, there are always risks with downloading software created by others. If you decide to install it you proceed at your own risk.
Note: before you begin the installation, consider that the Boulder scenery alone will take up about 35 gigabytes of hard drive space. If you don’t have that much space available on the hard drive where you have your Condor Landscapes folder, it is possible to install the scenery on an external drive while leaving Condor installed where it is. This would take a few extra steps that are not covered in these instructions. Please contact me if you need help with this.
To install the scenery follow these steps:
1) Download the Main Scenery File
Click on Boulder_2.1904.WIP_MAIN
This will open a screen that looks like this:

The first 2 files are text files. You can read them but I don’t think they serve any functional purpose.
The first critical key file is the last one on this list. It contains the backbone of the scenery but not the textures. Click on it to download it.
2) Download the Texture Files
Click on: Boulder_2.1904.WIP_TEXTURES
This will open a Google Drive screen that will look like this:
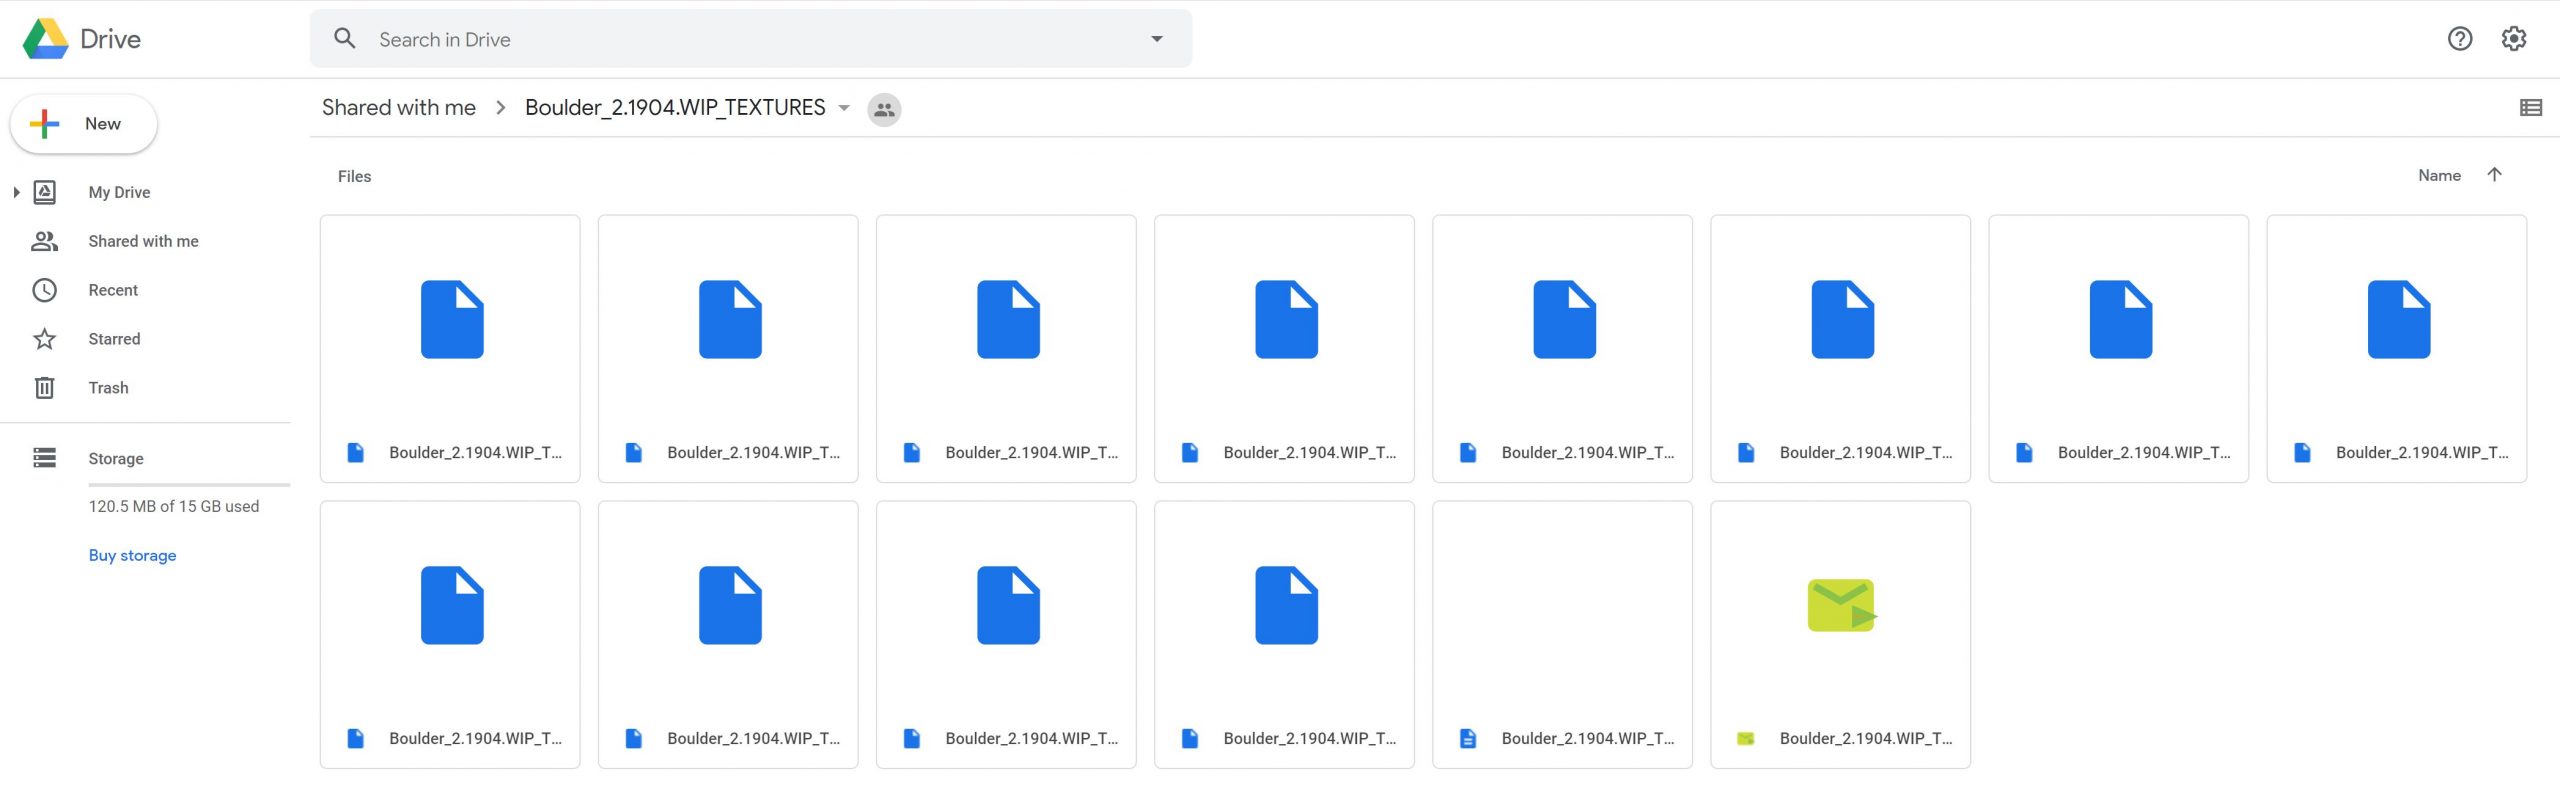
- The first 12 files (the ones with blue icons) are texture files. (They contain a lot of graphical image files that will make the scenery look real.)
- The second to last file is a text file.
- The last file (shown in green) is an executable installation file. This one is critical to install the textures.
You need to click on each of these files to download them individually. You can start the download for all of them simultaneously but they are big files so this will take a while.
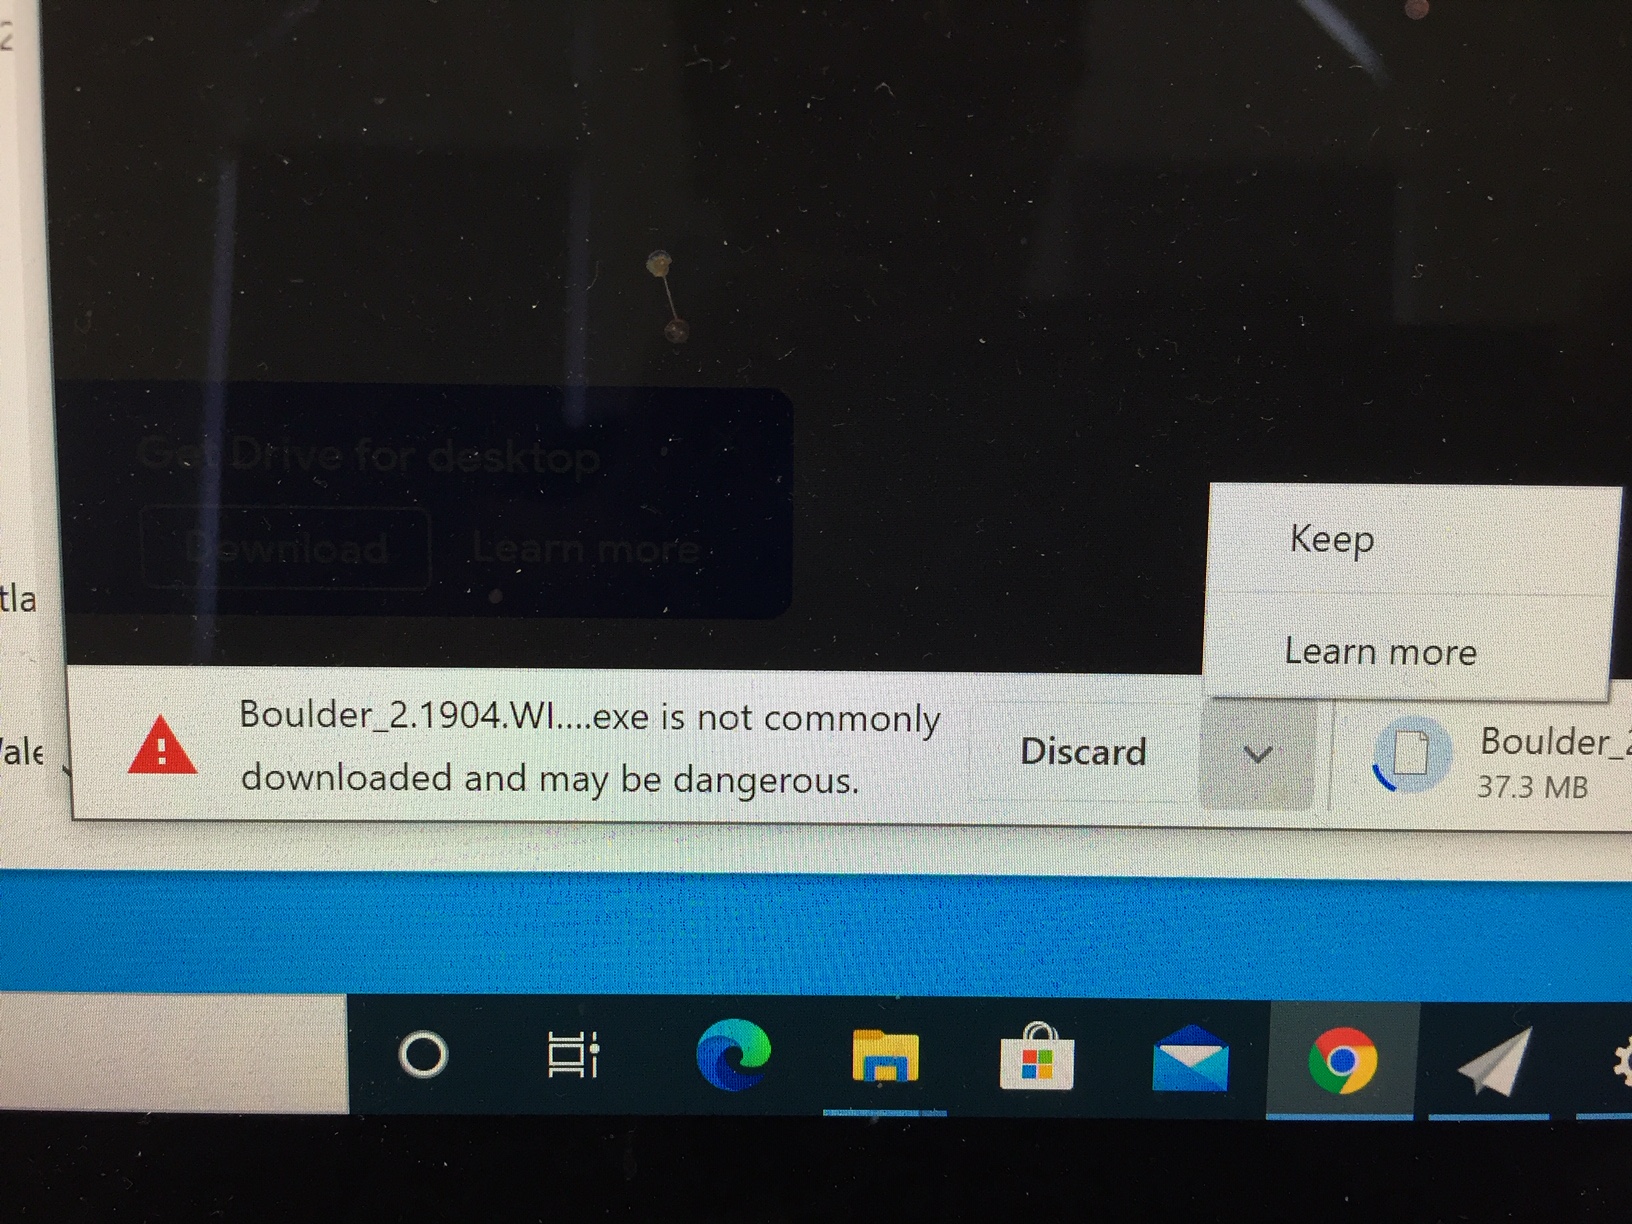
Important: when you get to the executable file (the green one), Windows may even resist downloading it. You may need to select “Keep” at the bottom left of your browser window (see screenshot below). This is easy to overlook but you cannot install the textures without this file!
3) Installation
Once you have downloaded all the files, it is time to install them.
Condor’s default location for sceneries is the landscape directory. On your computer you will probably find it under C: >Condor2 > Landscapes.
I don’t know if this is necessary, but I suggest you move all the downloaded files (the two executables and all the texture files plus any text files that you downloaded) into the Landscapes folder.
Once you have done that, run first the MAIN file (Boulder_2.1904.WIP_MAIN).
Depending on your Windows / virus protection settings you may get warning messages when you try to run these executable files. You will have to override these and trust the source. Otherwise you cannot install the files. This may look like the following:
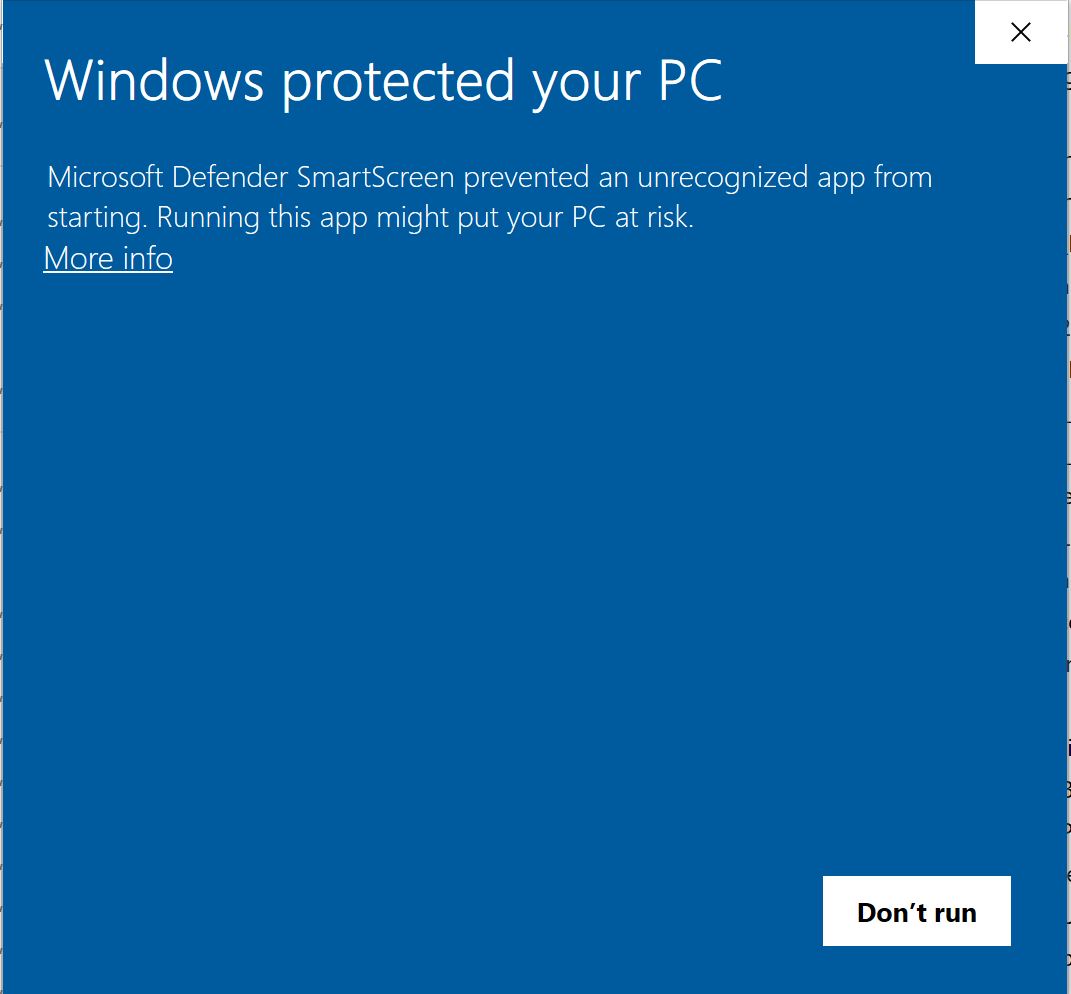
If you see this, you will need to click on “More info”. This will give you some additional warning message but also an option to overide this by clicking on “Run anyway”.
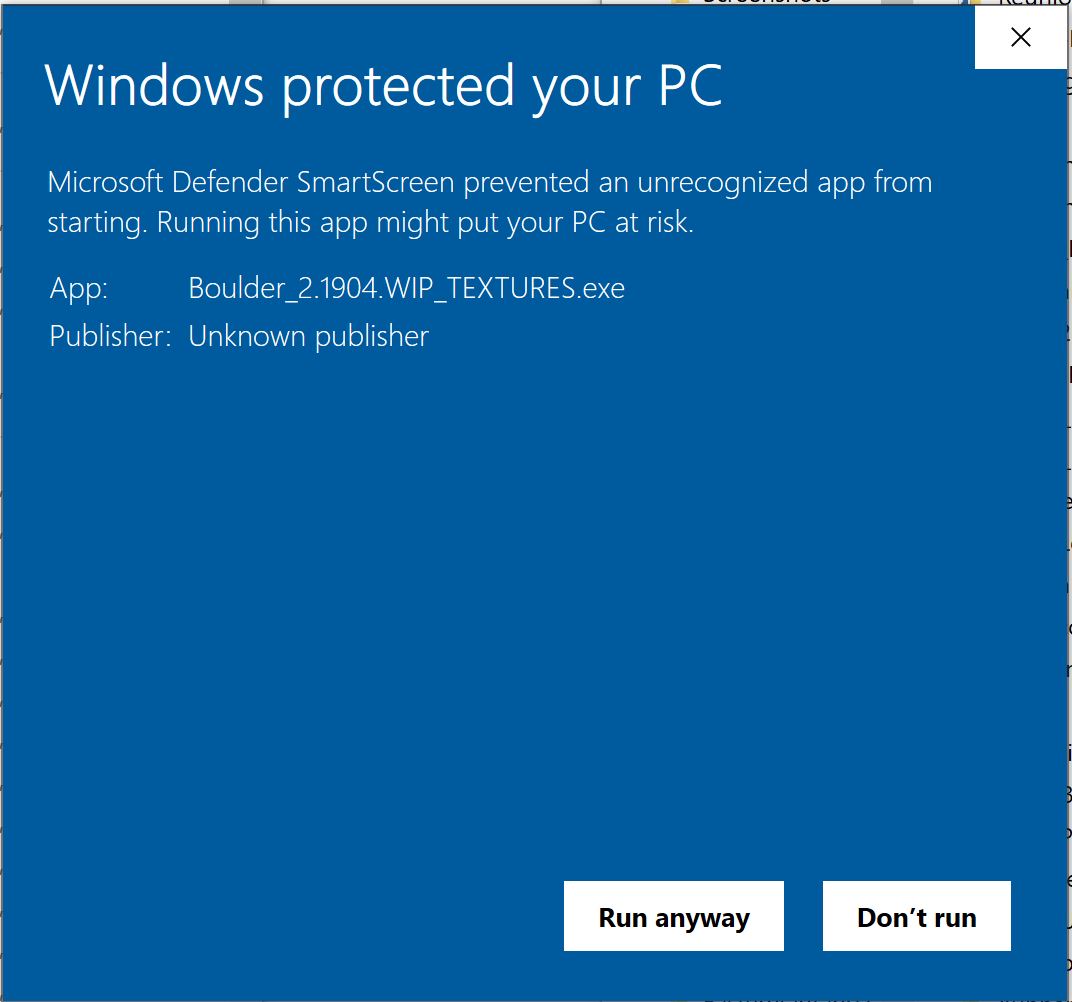
Once you’ve successfully installed the main executable file you must also run the executable file to install the textures. The file name is: Boulder_2.1904.WIP_TEXTURES.
You may get the same warning messages.
Make sure you complete the installation.
4) Test if it works
Launch your Condor2 application. From the main menu select “Free Flight”.
This will take you into the Flight Planner. At the top right you should see a drop down menu labelled “Landscape”. Within that drop down menu you should now find “Boulder”. Select it.
Now find KBDU on the map and click on Boulder for takeoff and start and select a nearby point as turnpoint, then go back to KBDU to finish. Select a glider, make any changes to the weather conditions that you like, then click “Start Flight”. You should find yourself on the runway at KBDU, ready for takeoff. Congratulations, you’re ready to fly from Boulder!